Your Own Game Server On Azure Create A Dedicated Counter Strike Server
It is almost every gamer's dream that he has his own server that meets all of his requirements and allows him to play god. There were only two ways to have such a personal space when I was younger. I could either install one on my computer and make sure it never gets switched off, or rent one from a gameserver hosting company for more money than I had back then. Cloud computing allows us to host servers for a fee. So why not creating an own game server that lives in the cloud?
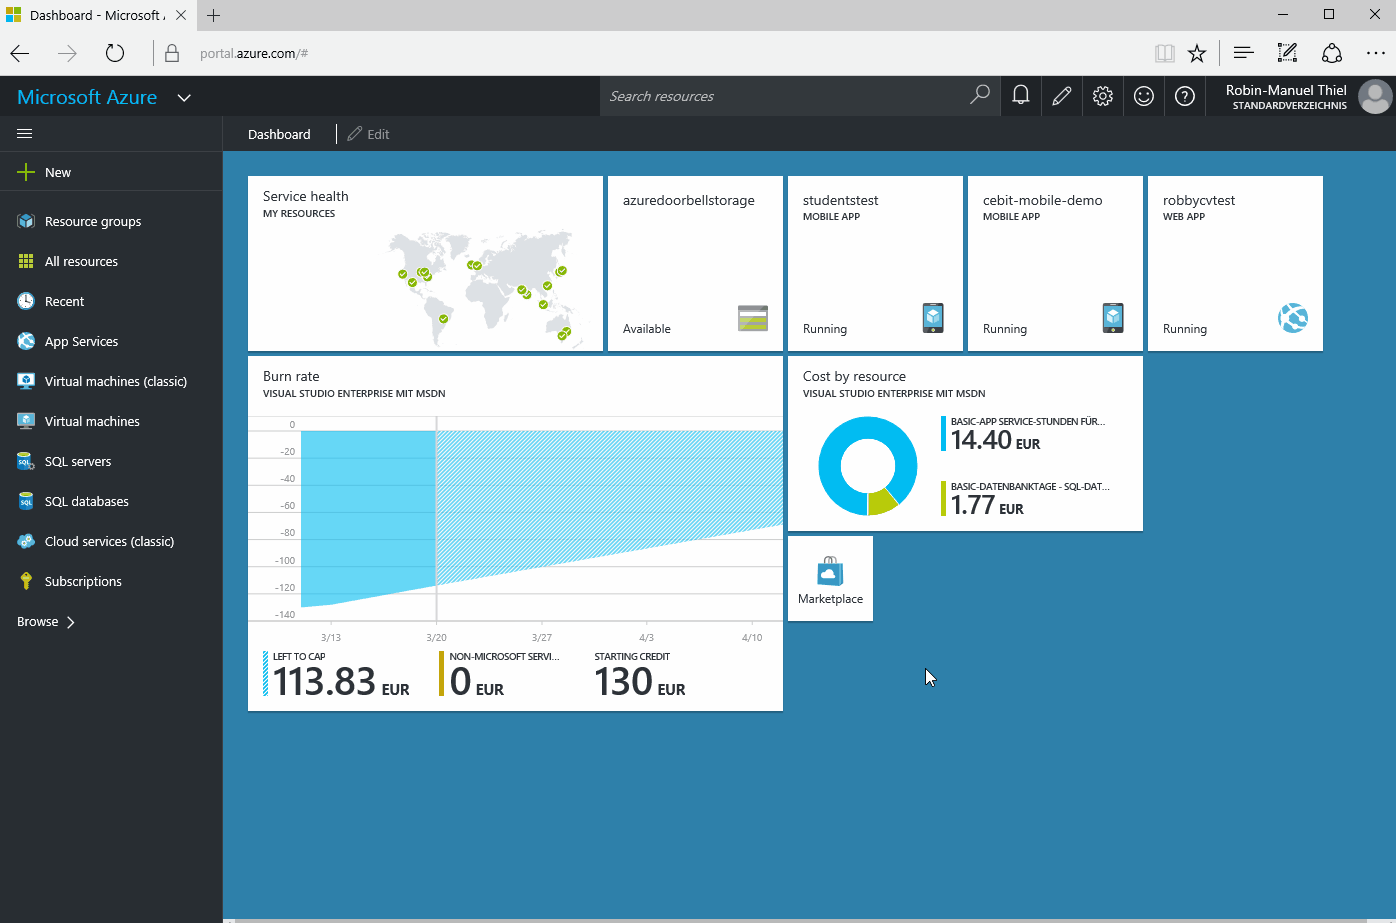
1. Create a new server on Azure
It's easy to create a server in Azure. Simply click the New button, and choose the virtual machine you wish to host. Steam still runs best on Windows, that's why we choose the Windows Server 2012 here](http://pumpingco.de/content/images/2016/03/01host.gif)
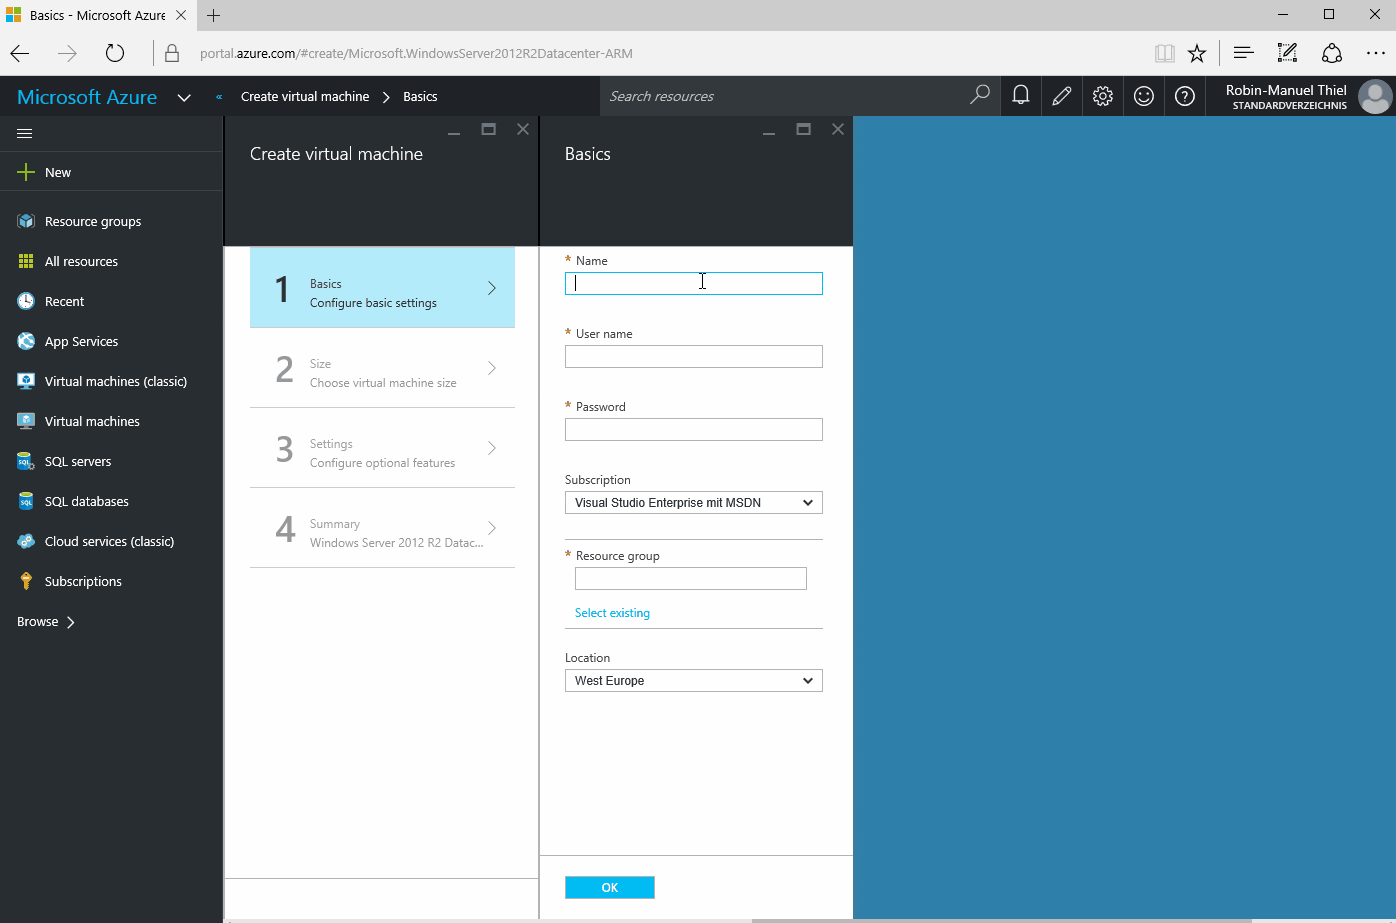
2. Configure the server
We must tell Azure which server type we require. For our purpose the default settings are fine. Only the pricing tier might be a bit too high, so let's select a smaller one that better fits our wallet](http://pumpingco.de/content/images/2016/03/02configure-speed.gif)
After our server is created by Azure, you can connect to it using Microsoft's Remote Desktop Tool. It is easy to do this by opening Azure's server page, downloading the pre-configured connection profile, and clicking the Connect button at top row. Once connected we can start installing our game server.
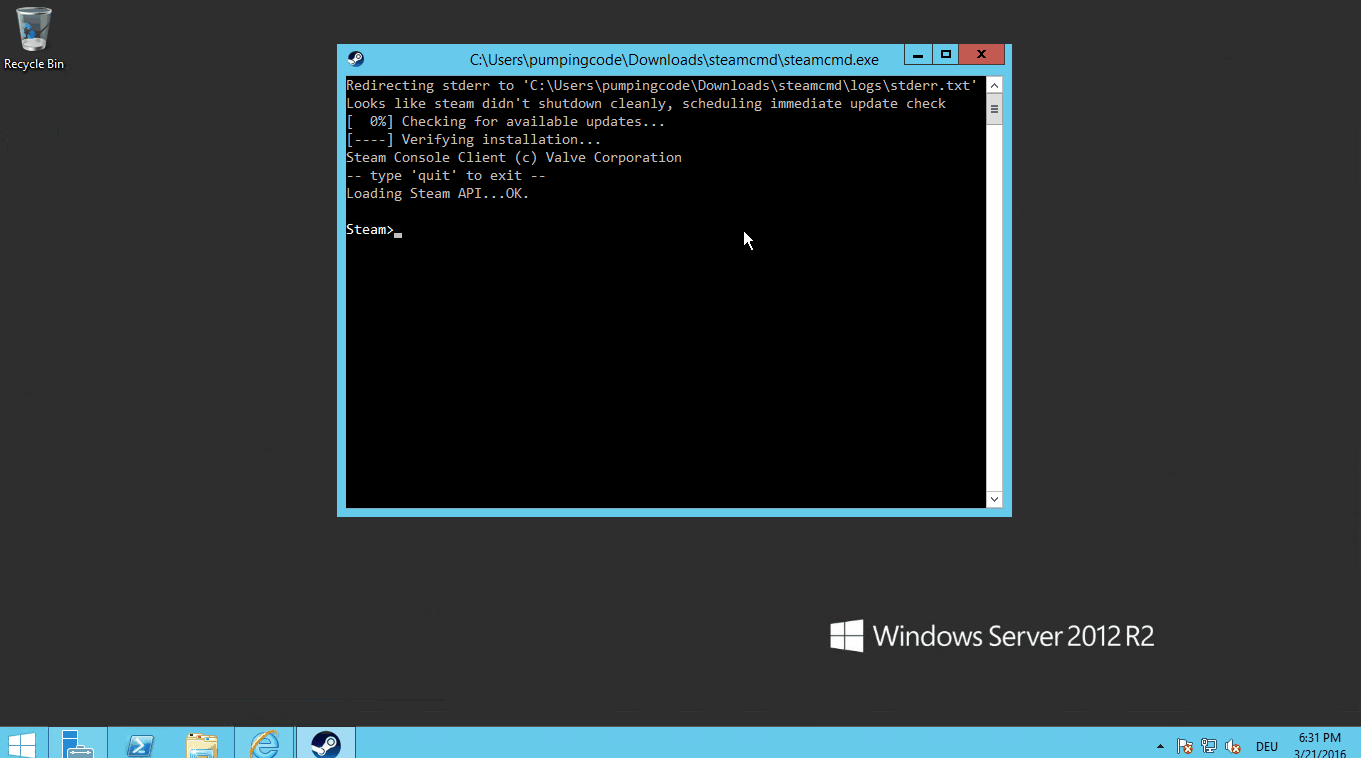
3. Installing the game server
Fortunately, there is no need to install the full Steam application on your server to create a dedicated server for your game. That's How To Be Me All you need is the SteamCMD application to communicate with the Steam servers via console. You can simply download the SteamCMD application and extract it wherever necessary. After starting SteamCMD, it sometimeswants to update itself. After that, you can start downloading the files that you need.
To download game server files,wedon't need an account so wecan log in anonymously into steam by typinglogin anonymous into the console window. We will also need to tell Steam where the files should be downloaded. To do this, we create a folder, and then use theforce_install_dir your_LOCATION command to set it as your download destination. The ID of the steam app that we wish to download is also required from the official list. The Counter-Strike: Source Dedicated Server's id is 232330. Let's install the server with theapp_update STEAM_APP_ID command](http://pumpingco.de/content/images/2016/03/04installserver.gif)
4. Configuring and starting the server
We can start the server once it has been installed. Navigate to the directory that was previously installed, hold the Shift-key to access the installation directory, then rightclick to create a new space. I'm Only Good At One Thing Select Open command window. Now we can enter the srcds GAME_FOLDER Command. In our case the game folder is called cstrike and the command looks like this: srcds -game cstrike. The server configurator should now open. We can now configure our server.
5. Forwarding the right ports
We need to allow the server to communicate with the internet, making it available for other players. For this we need to open the Windows Firewall with Advanced Security tool and add a new Inbound Rule for UDP Port27015, which is the one for our server, if you haven't changed it](http://pumpingco.de/content/images/2016/03/05portforwarding.gif)
Additioanlly, we need to tell Azure to forward all incoming network-communicationon our portto the game server. For this, we also need to create an inbound security role for port****27015](http://pumpingco.de/content/images/2016/03/06portazure.gif)
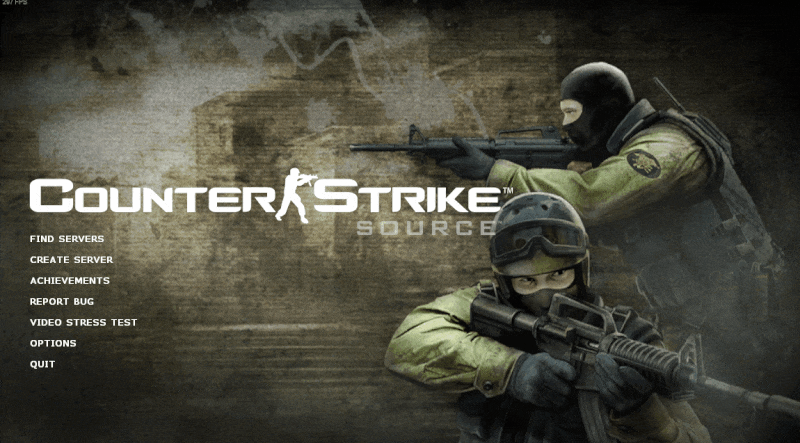
6. free 51 Start server and connect to it
Now all is set up and we are ready to start our server. As soon as everything is loaded completely, we can start our local Counter Strike client and connect to our fresh game server. The easiest way might be adding the server as a favorite directly by its IP Address (can be found in the Azure portal) and port](http://pumpingco.de/content/images/2016/03/07connect.gif)
Enjoy playing with your friends on a gaming server that you control. We have more content coming soon, so keep checking our Gaming Server series!